Welcome to CrowdPass! CrowdPass is a comprehensive solution that manages custom landing pages, invitations, ticketing, and registration processes seamlessly. Our event wearables, such as badges, lanyards, and wristbands, feature QR code and NFC technology to enhance ROI and gather valuable data at your events.
Below are step-by-step instructions for how to create your account.
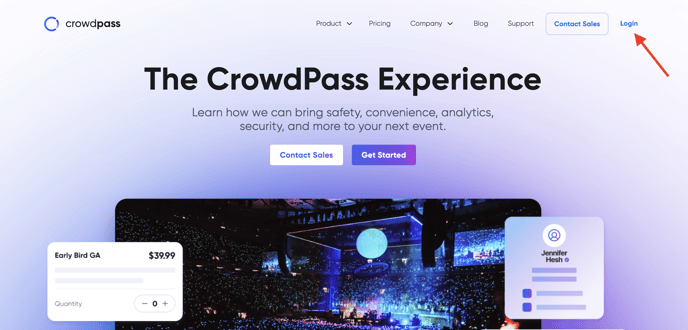
- Visit crowdpass.co
- Click 'Login' in the upper right corner
3. Enter the email address you'd like to use with CrowdPass and create a password following the password guidelines 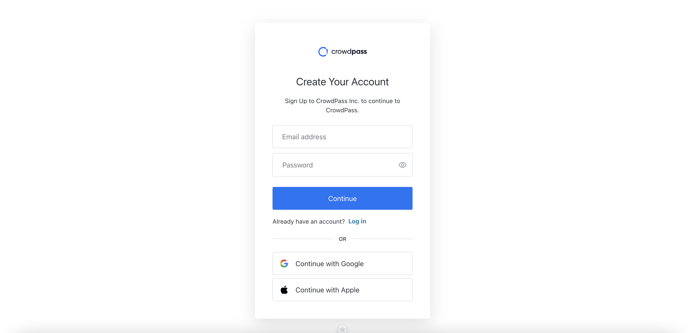
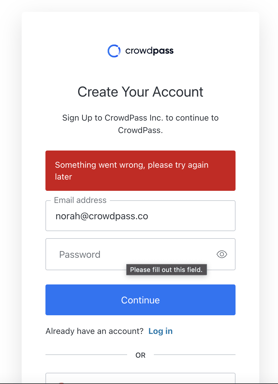
If you receive this error, it means you already have a CrowdPass account. Log in instead.
4. Logging in will take you to your My Events page. Click the "Click here to start hosting events" button

5. Fill in your name and phone number for the Complete Your Profile section 
5. Here is where you will provide your company information
Note: Customer Service Contact is where you can add support, admin, and info@company contact information. Attendees use this when they need to ask your company event-related questions. 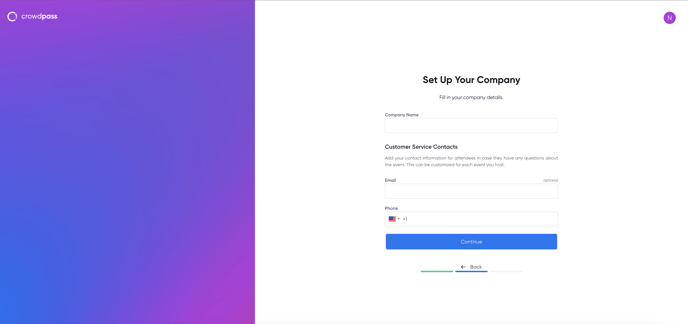
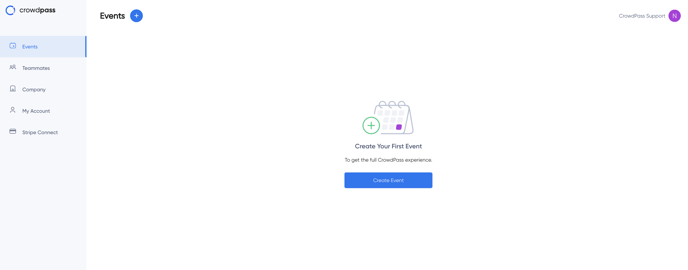
6. After setting up your account, you can Create Your First Event!
To create your first event, click Create Event button and follow the steps.
Note: When you want to log in to CrowdPass, please follow the steps provided here
We hope this article helps! If you have any additional questions, please email support@crowdpass.co