Event areas are used for access control during your events.
Combining NFC technology with Event Areas, CrowdPass brings enhanced security, improved operational efficiency, data-driven insights, cashless payments, and branding opportunities to events.
To implement Event Areas in your events, follow the steps below:
Step 1: Create an event
Then click on "Event Areas"
Step 2: Click the blue + next to "Event Areas" to create a new Event Area
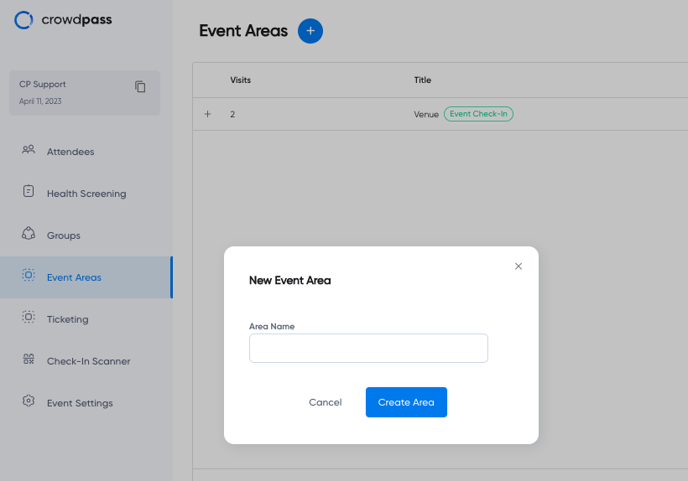
You can title the event area however you wish, but make sure it is descriptive, letting the event team know the area you are referring to.
Step 3: Click the name of the area to open up the area you created
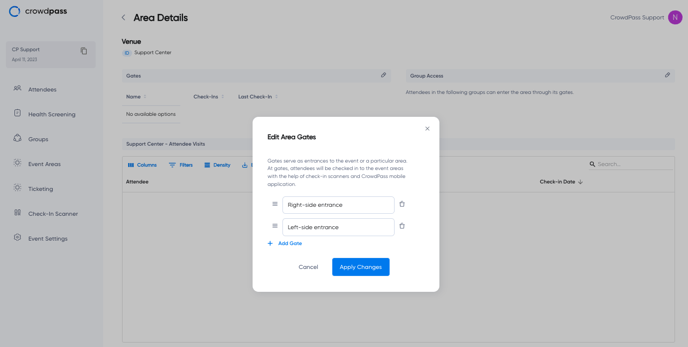
Step 4: Add a Gate
Gates are used as entrance points to your access areas. If you have four ways an attendee can enter an area, you must have four gates to provide accurate data for each entry point.
To add a gate, click the pencil next to "Gates"
.png?width=688&height=348&name=add%20gate%20(with%20no%20gates%20added%20yet).png)
Example: If you have a room with two entrances, one on the left-hand side and one on the right-hand side of the room, you must add two gates.
Step 5: Add Group Access to event areas
Group Access specifies which groups of attendees can enter your event areas. To learn more about Groups, click here.
To add a group, click on the pencil on the right-hand side, next to 'Group Access'
Here you can choose which attendee Groups are permitted to enter this Event Area
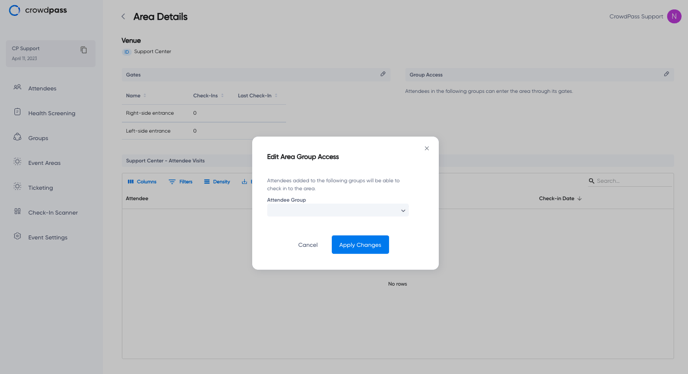
Then click "Apply Changes"
You can edit Group Access and the name of the Event Areas and Gates at any time.
To edit an event area, click the 3 dots on the right-hand side and click "Rename."
To delete an event area, click the 3 dots on the right-hand side and click "Delete"
We hope this article helps! If you have any questions, please reach out to support@crowdpass.co. Happy event organizing!